Build Moonshine in Moonshine
Step 1
Install and open Moonshine IDE
Go to https://moonshine-ide.com and download the latest development version of Moonshine IDE. You can also use this link for direct download.
Open Moonshine IDE. It’s going to show Getting Started page. Click on the Download Third-Party Software button.
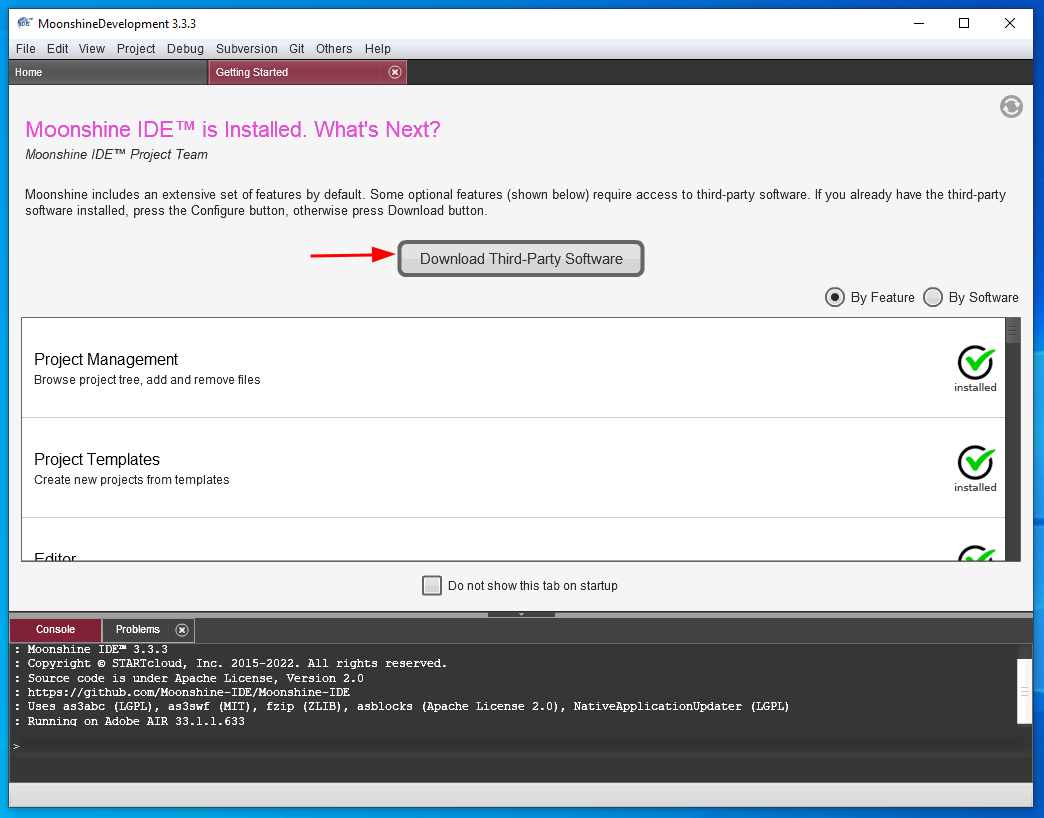
On a Windows system, it’s going to download Moonshine SDK Installer directly. On a macOS, it’s going to take you to a page where you can download the latest version of Moonshine SDK Installer manually.
Proceed with the installation.
Step 2
Install SDKs.
Moonshine SDK Installer should open automatically.
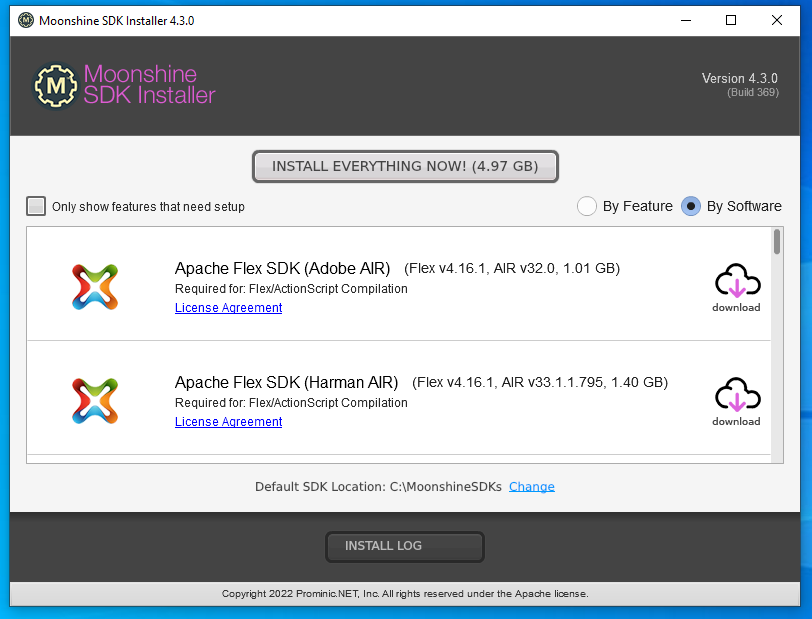
You can download and install all supported SDKs using the Download Everything Now button. Alternatively, you can pick and choose your SDKs using their respective download buttons.
For building Moonshine IDE you’ll need Harman Air, Java 11, Ant, and Git.
Step 3
Clone repositories.
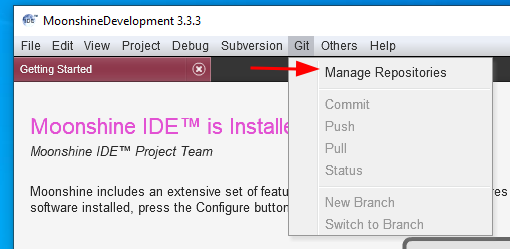
Open the Git menu from the App Bar and click Manage Repositories.
Select Moonshine IDE repository and click Clone.
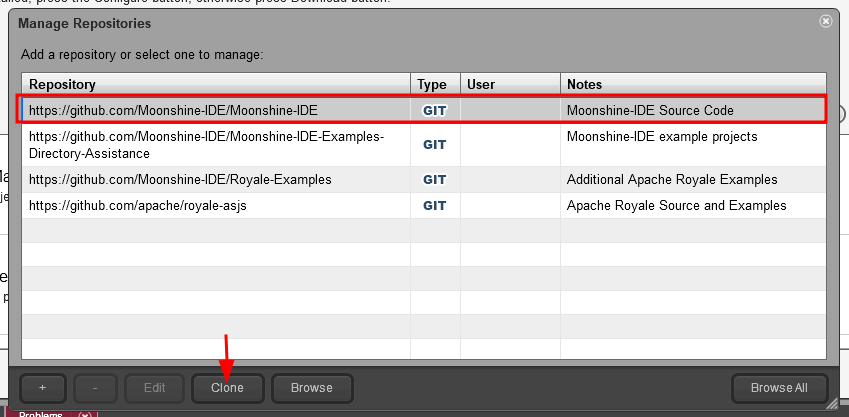
Provide a path and confirm the cloning.
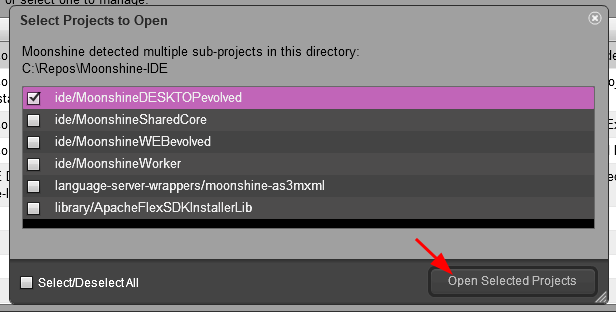
Select MoonshineDESKTOPevolved project and click Open
Now we need to clone more repositories that are not on the list.
- https://github.com/Moonshine-IDE/VisualEditorConverterLib
- https://github.com/Moonshine-IDE/MockupVisualEditor
- https://github.com/Moonshine-IDE/Moonshine-SDK-Installer
Click the plus button, provide the link and click Save.

When all the repository links are saved clone them to the disk.
You should open three projects in Moonshine:
- MoonshineDESKTOPevolved from Moonshine-IDE
- VisualEditorConverterLib
- MockupVisualEditor
You don’t have to open any projects from the Moonshine-SDK-Installer.
Your repository structure on disk should look like this:
Repos
|- Moonshine-IDE
|- Moonshine-SDK-Installer
|- VisualEditorConverterLib
|- MockupVisualEditor
Step 4
Build VisualEditorConverterLib
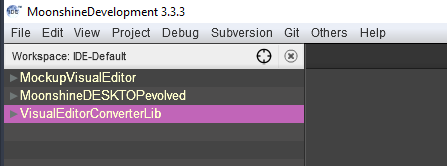
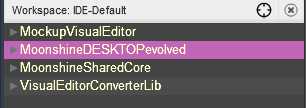
Your Project View should now tell that your workspace contains three projects:
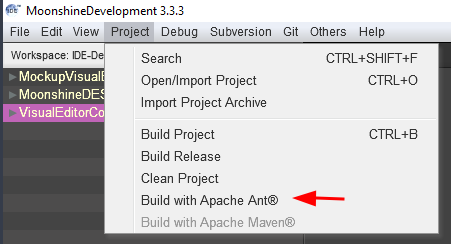
Make sure VisualEditorConverterLib is selected, go to the Project menu, and click Build with Apache Ant.
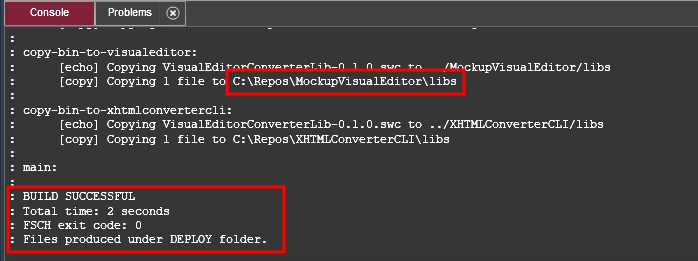
Make sure the build is successful in the Console output. Please note, that the build artifact is exported to the other repository.
Step 5
Build MockupVisualEditor
Now that VisualEditorConverterLib.swc is copied into MockupVisualEditor/lib/ folder you can build MockupVisualEditor.
First, in Project View go to the MockupVisualEditor/build.xml file and uncomment line 7:
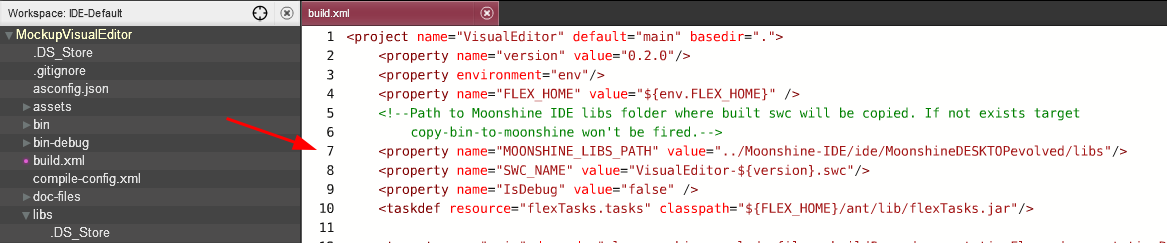
This is necessary for copying the artifact to Moonshine IDE.
Make sure MockupVisualEditor is selected in the Project View.
Click on the Project menu and select Build with Apache Ant.
Make sure the build is successful.
Step 6
Build Moonshine IDE with Moonshine
Go to MoonshineDESKTOPevolved\src\MoonshineDESKTOP-app.xml and comment out line 350:

This disables the SecurityScopeBookmark extension (which you probably don’t have) and lets you run and debug the application without issues.
Everything is ready now to build Moonshine-IDE itself. Make sure MoonshineDESKTOPevolved is selected in the Project View, go to the Project menu, and click on Buil Project (this time no Ant)

Step 7
Run Moonshine IDE with Moonshine
To run modified Moonshine IDE click on the Project menu and then on the Build & Run option.
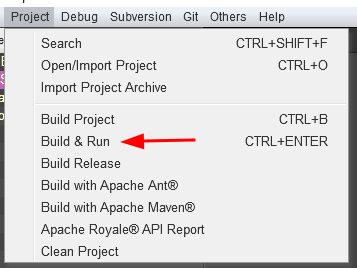
The project will be launched using Harman AIR SDK.
Step 8
Building multiple Moonshine IDE projects
Until this point, we were only concerned with the main Moonshine IDE project which is MoonshineDESKTOPevolved. Let’s see how we can make changes to other projects wich are also part of the Moonshine IDE.
Click on the Project and then Open/Import Project.
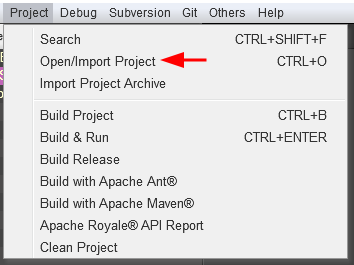
All the projects are located in the Moonshine-IDE\ide folder:
- FileSystemWatcherWorker
- MoonshineDESKTOPevolved
- MoonshineGUICore
- MoonshineSharedCore
- MoonshineWEBevolved
- MoonshineWorker
For example, let’s select MoonshineSharedCore and click Select Folder.
Make your changes to the MoonshineSharedCore files.
When you are done, select again MoonshineDESKTOPevolved project.
Because this is Moonshine’s main project rebuilding it will also rebuild all of its dependencies. If you tried to build MoonshineSharedCore directly, you would get an error.
Click on Project and then Build and Run, and see your changes on the live application.
Step 9
Debug
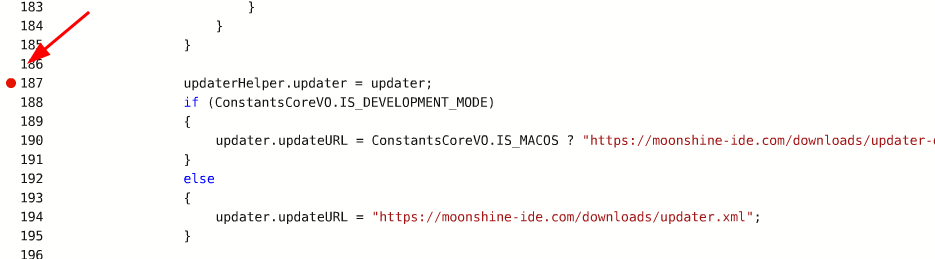
Set a breakpoint anywhere in the code. A good example is line 187 in MoonshineDESKTOPevolved\src\MoonshineDESKTOP.mxml invoked right after start and just before Moonshine IDE performs an automatic update check:
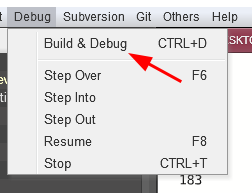
From the Debug menu select Build & Debug
Moonshine IDE will launch and pause, stepping into the breakpoint.